
Tags
Cake pop tags are the perfect way to personalize your baked goods. They enable you to add extra details that may be tough to incorporate on the actual treat itself, such as wording or pictures.
Making cake pops for a wedding reception? Elevate them by adding a tag with the couple’s name, wedding date or thank you message. Making an order for a corporate client? Ask them if they’d like their logo on a cake pop tag, they’ll love it!
Basic Tools
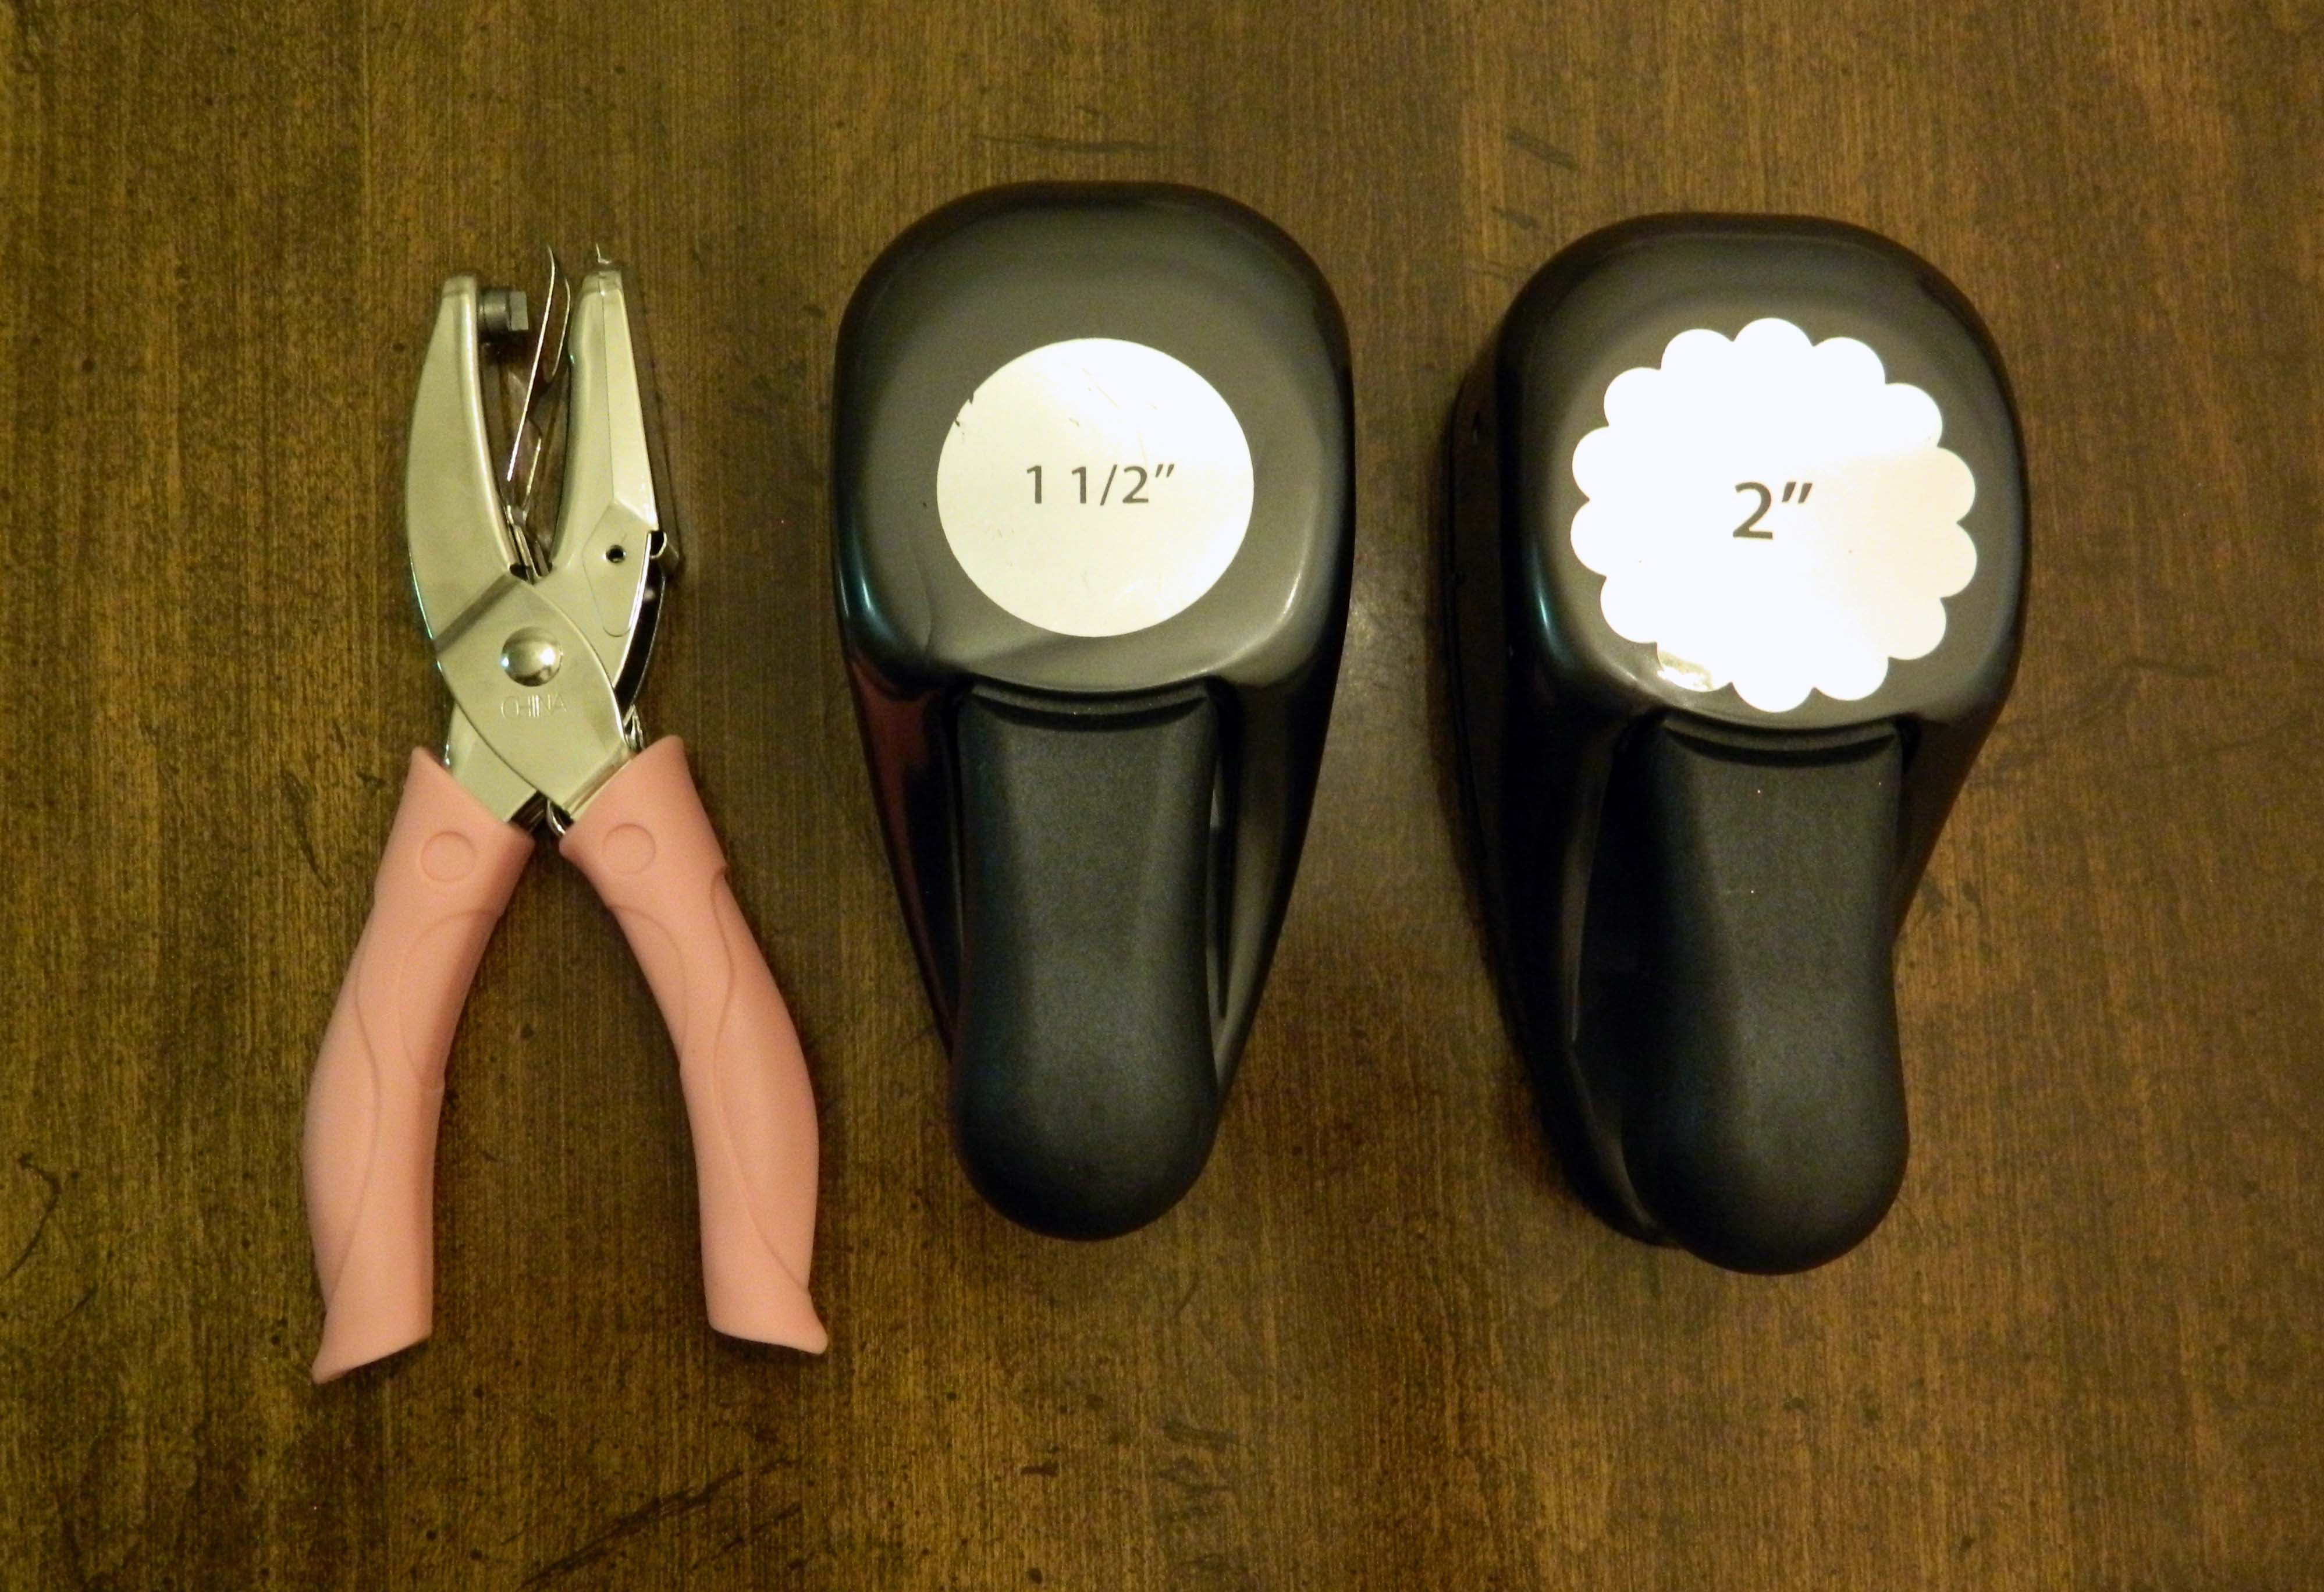
You can always hand-cut your tags with scissors, but the more tags I make, I’ve found these tools to be essential (L-R): single rectangle hole punch, 1.5″ round punch & 2″ flower punch.
I bought these tools from Michael’s & AC Moore. The bigger punches can get a little pricey, but both stores always have weekly coupons on their websites for 40% or 50% off. And don’t forget, stores accept competitor’s coupons. Have a smart phone? Pull the coupon up on your phone from your email or the store website. I do this all the time. Bottom line: If you only ever learn one thing from this blog – never go craft shopping without a coupon!
Methods
There are two general methods that you can use to go about making your cake pop tags… using a computer, or not using a computer. Let’s start with the non-computer tags. (The computer method will come in Part 2 of this tutorial next week! It’s a lot of info to share & I didn’t want to overwhelm ya’).
Write Your Own Tags
- Using white card stock or craft paper, create your own personal hand-written messages.
- Find a festive patterned paper and use the flower punch to create a background tag.
- Line up the tags as to how you’d like them to look (white tag centered on the dotted flower shape), and punch through both at the same time.
- This way the hole is at the same position on the each tag.
- Slip a twistie-tie through both tags & ta da… a cute little personalized tag that takes less than 3 minutes to make.


Scrapbook It!
While I was at AC Moore, I came across this super fun sheet of scrapbook paper. It had so many different phrases and shapes! Line up your 1.5″ hole punch over whatever parts appeal to you, punch it out & pair it with a sparkly background… boom – instant cake pop tag!


Twistie Tip
Curling ribbon is a pretty way to attach cake pop tags, but it is time consuming. The ribbon twisting this way and that, having to tie knots and sometimes it gets that static-cling where you can’t shake it off your hand.
I prefer using twistie ties – they’re easy to use, and come in pretty metallic colors. Tip: the twistie ties I buy are 7″ long… cut the them in half! This way you don’t have all that excess to twist around, and you get more bang for your buck.
- Avoid getting “tails” like you see on packs of bread with this easy method.
- Slip the twistie in through the slot. Bend it back, flat against the tag, then twist at the top to secure it.
- Hold the tag (pretty side up) flat against the pop, then wrap the tail around the pop stick until it runs out.
- Ta da! A pretty pop with no tails.


The more I looked around that sheet of Valentine’s Day scrapbook paper, the more tag options I found. I had so much fun, I made this set of 12 cake pop tags for a giveaway!
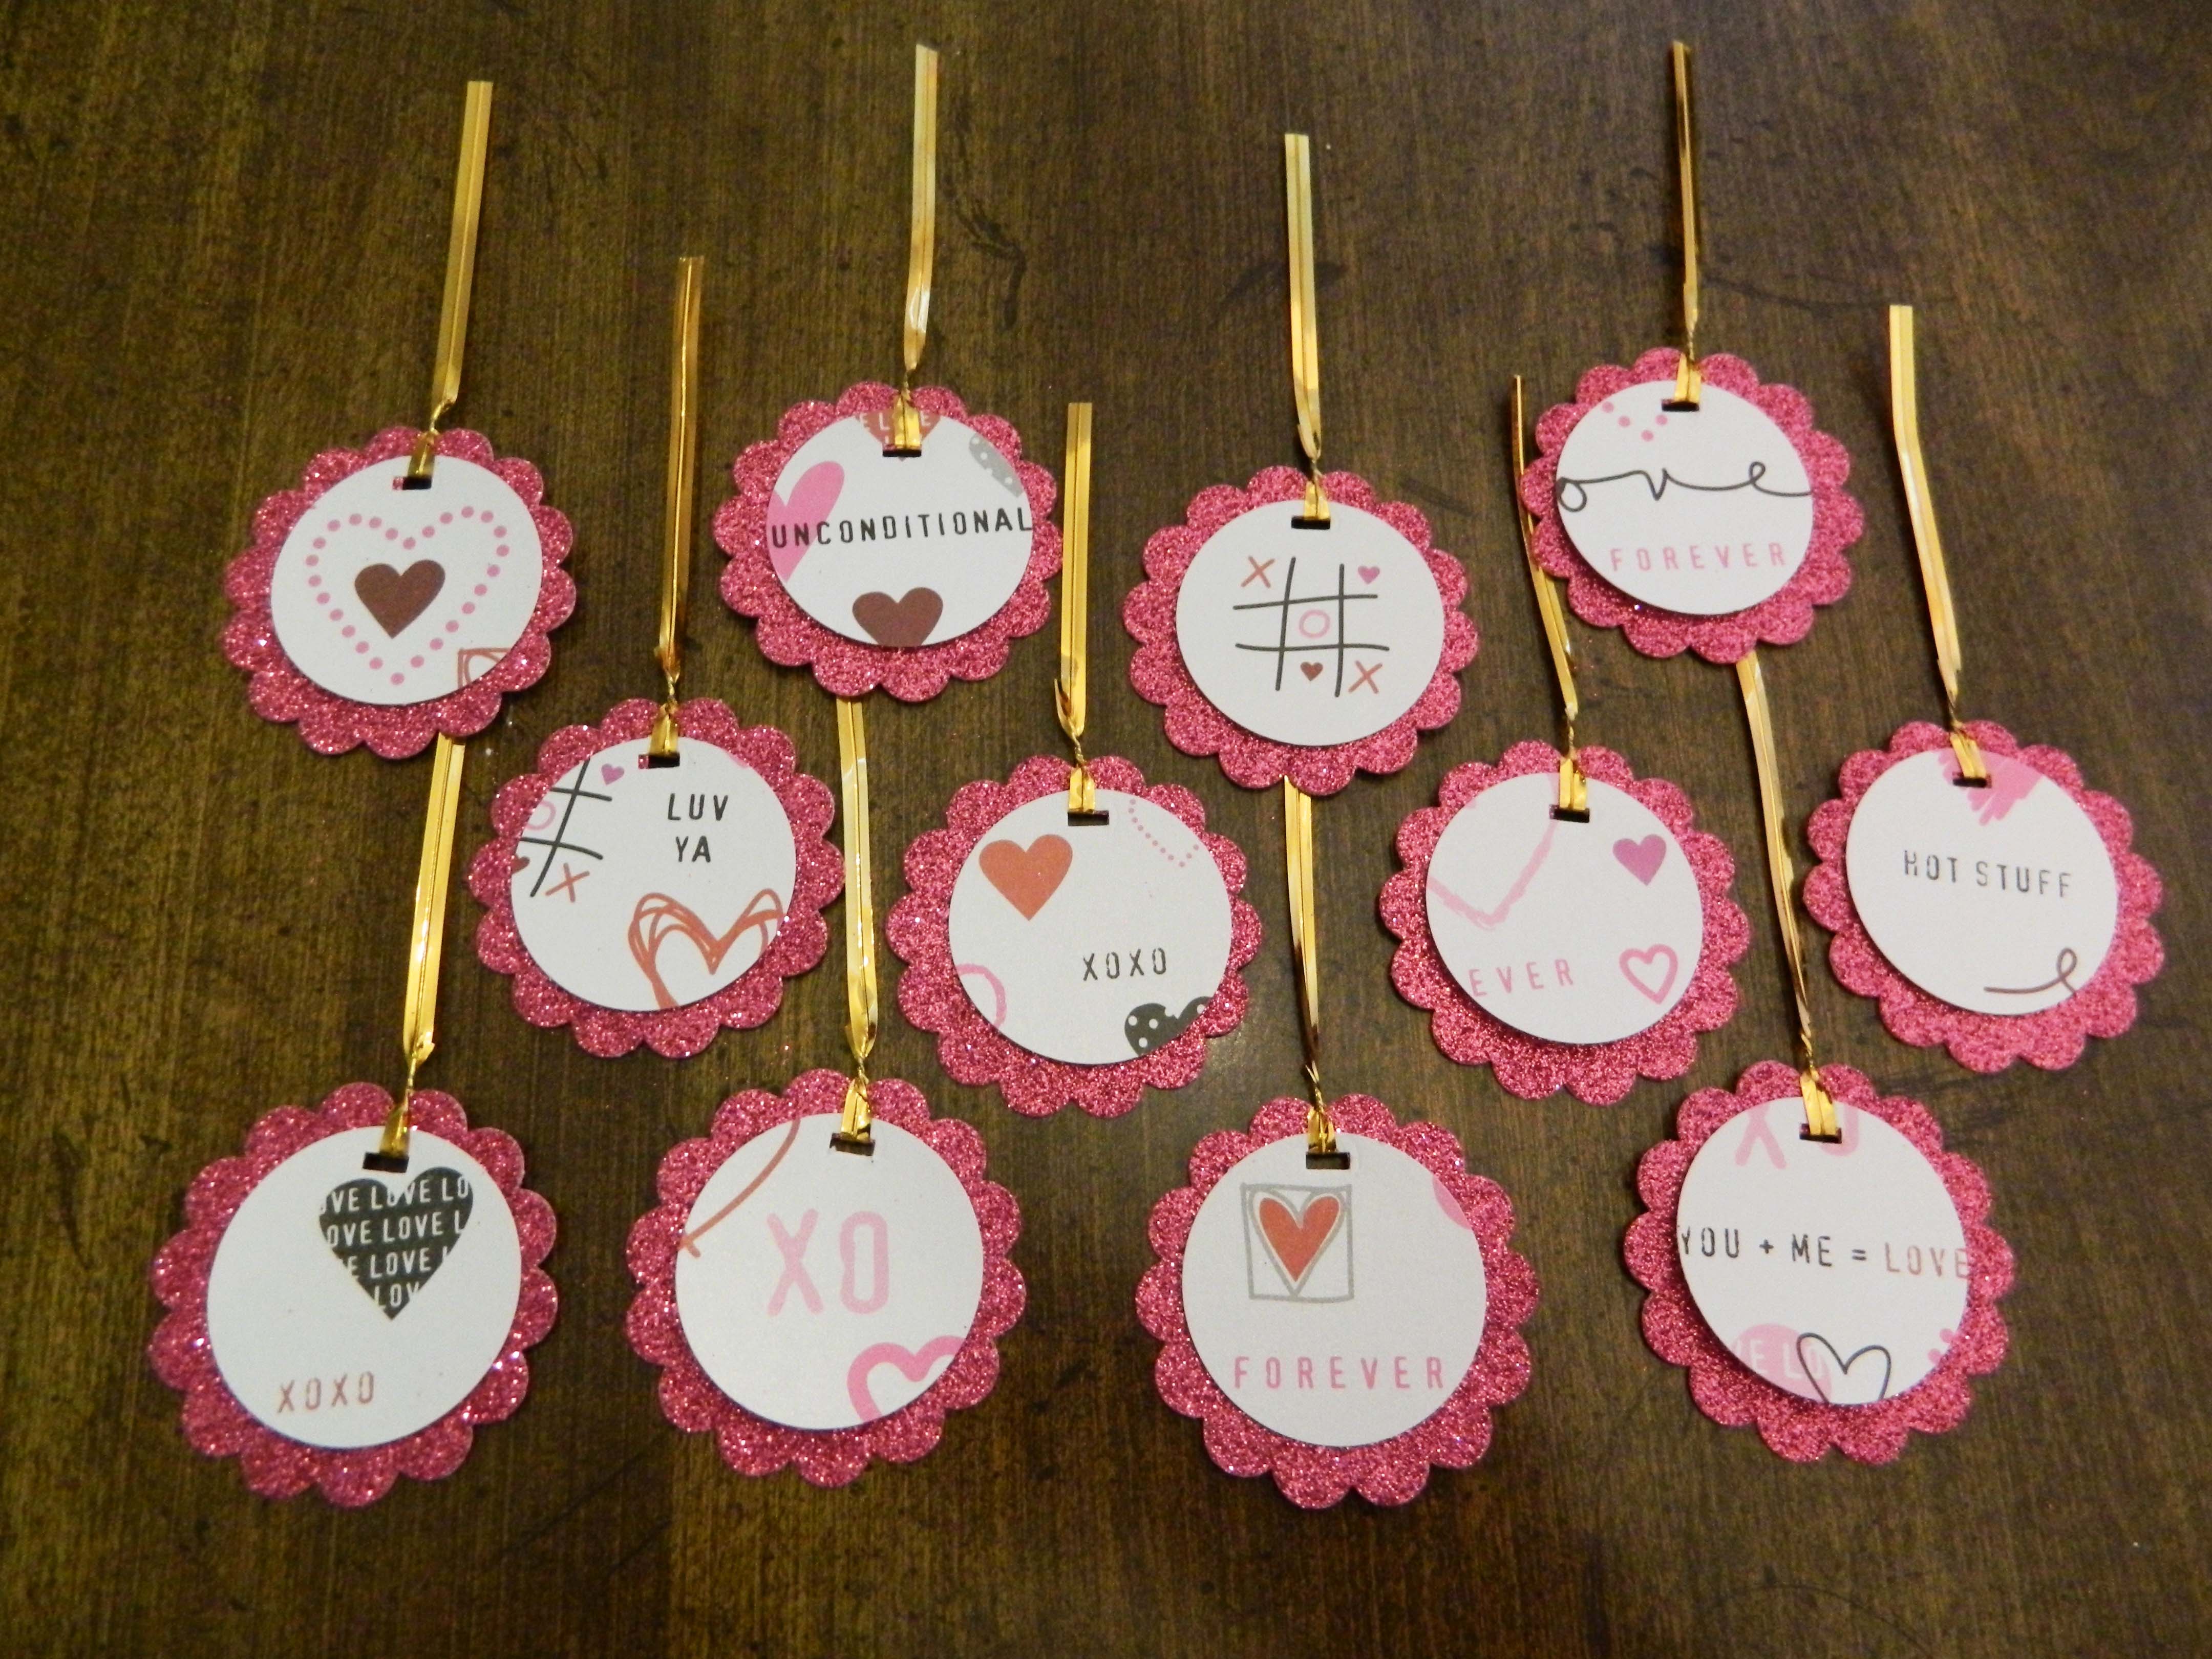
Giveaway closed.

If I could ask any celebrity to be my valentine, it would be Jay Ryan (from the new tv series Beauty and the Beast). Lol.
channing tatum 🙂
So Cool! Thanks for the tutorial and I hope to get some of those tools sometime soon! I would ask Ryan Gosling to be my Celebrity Valentine! 🙂
And…I already follow you on FB, Instagram. 🙂
I would pick Prince Harry, because he seems like he would be a good time. You never know what is going to happen with that guy.
I would have to go with Hugh Grant.. He may be older now, but I still adore him!
I follow you on Instagram 🙂
I would have to say Jason Statham. He is so darn sexy!
This was such a helpful tutorial… i’m looking forward to the computer part next week. I’ve been wanting to make these type of tags for ages, but am not the artiest type so need a lot of direction!!!! I’m off to hunt for the right punch tools as finding these things in the UK is not as easy as it is for you!! Thank You!
Russell Crowe! 🙂
Clinton Kelly ( from the chew)!!
Josh duhamel yummy
I would ask Darren Criss ❤
It will be Adam Sandler OMG I love Him!!!!
Umm….Brad Pitt, I think? Lol!
Liked you on Facebook 🙂
With no Michael’s or AC Moore I am having a hard time finding the right punches also. Looking forward to the Computer tips next week. As for a celebrity valentine I would say RDJ (Robert Downey JR) he has always been a favorite.
Shared on my Facebook page & tagged you in it!
Bradly Cooper
LIked KC Bakes on FB
Shared this giveaway on FB
Al Pacino will you be my Valentine??
I would say John Travolta.. He is such a good person. Love the tutorial, thanks
Ryan Gosling ❤
Thanks for the tutorial ….. was very helpful!!! Can’t wait for part 2 =)