
Tags
Today’s muse is a little something I whipped up myself, tie-dye cupcakes! A lot of people loved these when I posted them on Twitter (@KCbakes), so I thought I’d make a tutorial.
Tie-Dye Cupcakes
- 1 box of vanilla cake mix (& ingredients it calls for)
- Food dye (I used Wilton’s gel colors)
- # small bowls for the amount of colors you’ll have (I made 8 colors)
- One spoon for each small bowl
- Prepare the cake mix as instructed on the box.
- Divide the batter equally between the small bowls.
- Use a toothpick and put a small amount of the gel color into the batter. Note: Gel food dye is very concentrated, so start off light… a little bit goes a long way. Remember, you can always add more coloring, but you can’t subtract it.
- Tip: if using colored bowls like we did, don’t use the same color bowl for the same color dye (i.e. yellow bowl for yellow batter); its very tough to tell if you’ve mixed the batter thoroughly, or if the batter is reflecting the color of the bowl.
- After you’ve mixed all of your colors… fill up those cupcake pans! A scoop of blue, a scoop of pink… there’s no rhyme or reason to it. In fact, the more random your color pattern, the better! Be sure to only fill the cupcake liners 2/3 of the way full to avoid them spilling over.
- Bake cupcakes according to directions on the cake mix.
- Since there’s so many colors in the batter already, pair your cupcakes with a beautiful white frosting.

Great project to get the kids involved – they had so much fun!

A rainbow of cake batter!

Fresh out of the oven – I was surprised the colors stayed so bright!

Sprinkle decoration courtesy of the kiddos.
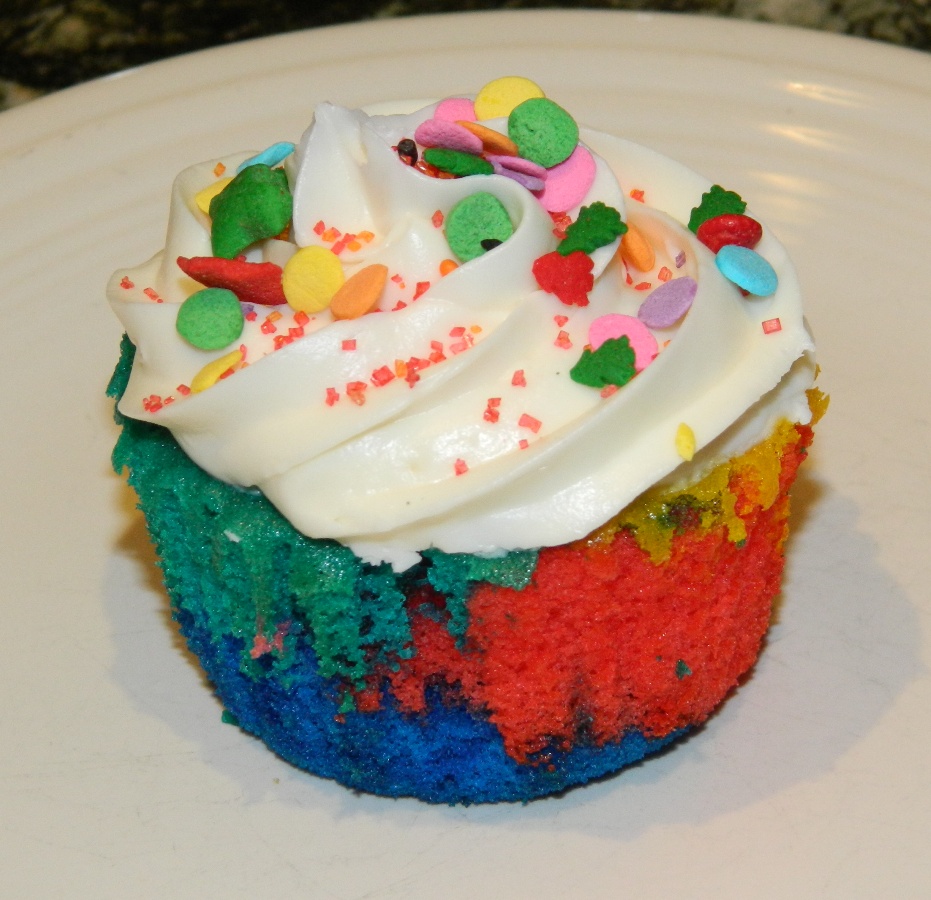
My cupcake, sans wrapper. Yes, those are Christmas Tree sprinkles, haha.

The middle – look at those layers of color!

Different color patterns.

We used tiger-print cupcakes, which made them even cooler.

Icing mustaches for the hard-working sous chefs 🙂
These cupcakes were so fun to make… I can’t wait until I have a reason to bake them again!

Cool!
I am wondering where you got the recipe because this is the same one that was on the Family Fun magazine had only they called them Rainbow cupcakes and that would be really to bad if you reposted the recipe and did not give them credit.As for a suggestion about the recipe, I found it was easier to do if you put the colored batter into a ziplock bag and piped it into the muffin tins.Aprilaprilk01(at)yahoo(dot)com
Hi April,I'm not familiar with Family Fun magazine. This is just something I put together on my own & typed up myself to share with others. It's a pretty basic concept; I definitely don't claim to be the inventor of this idea.Thanks for your concern. That's a great idea about using Ziploc bags! :)Have a great weekend,- Kim